Sunday, July 1, 2012

Kid Art Project - Statue of Liberty with Fireworks.


This mixed media project included:
Drawing
Painting with acrylic
 Tissue paper painting
Soft pastels
Collage


The kids painted a page black in their art books and set them outside to dry.

On a separate page they drew the statue's face and outlined it in black Sharpie.

The faces were colored by using bleeding tissue paper scraps and water. To do this, first, wet the drawing with a brush. Next, arrange scraps of tissue paper on the page. Finally, remove the tissues, leaving behind the color. Note: Some tissue papers are non-bleeding. 

When the black paint page had dried they added all kinds of fireworks using soft pastels.
Finally the statues were cut out and pasted on top of the fireworks.


 The older kids also worked on their drawing skills and each made a pencil drawing of
the Statue of Liberty.


Happy Independence Day!

Tuesday, June 5, 2012

Rainbow Party Streamers

Rainbow Power
(Party Decor/Fun)
Another great idea inspired by Pinterest! 
I bought solid colored plastic table covers and shower curtain rings at the dollar store. 


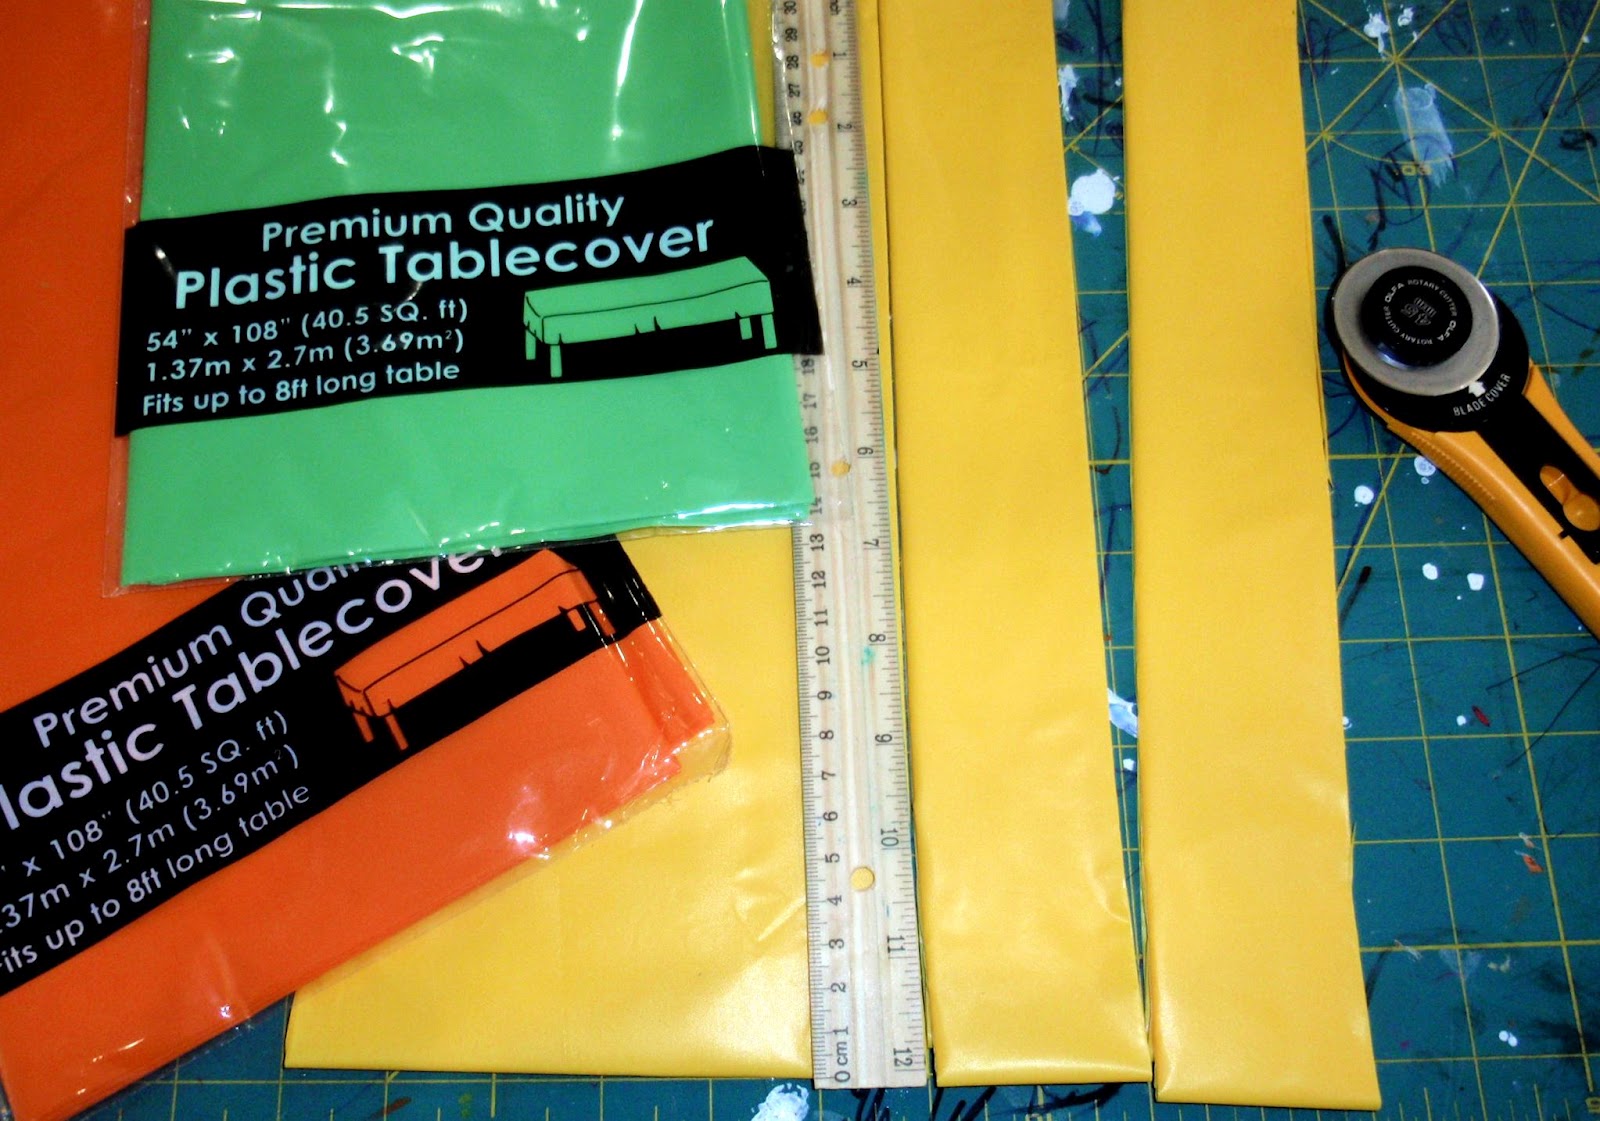
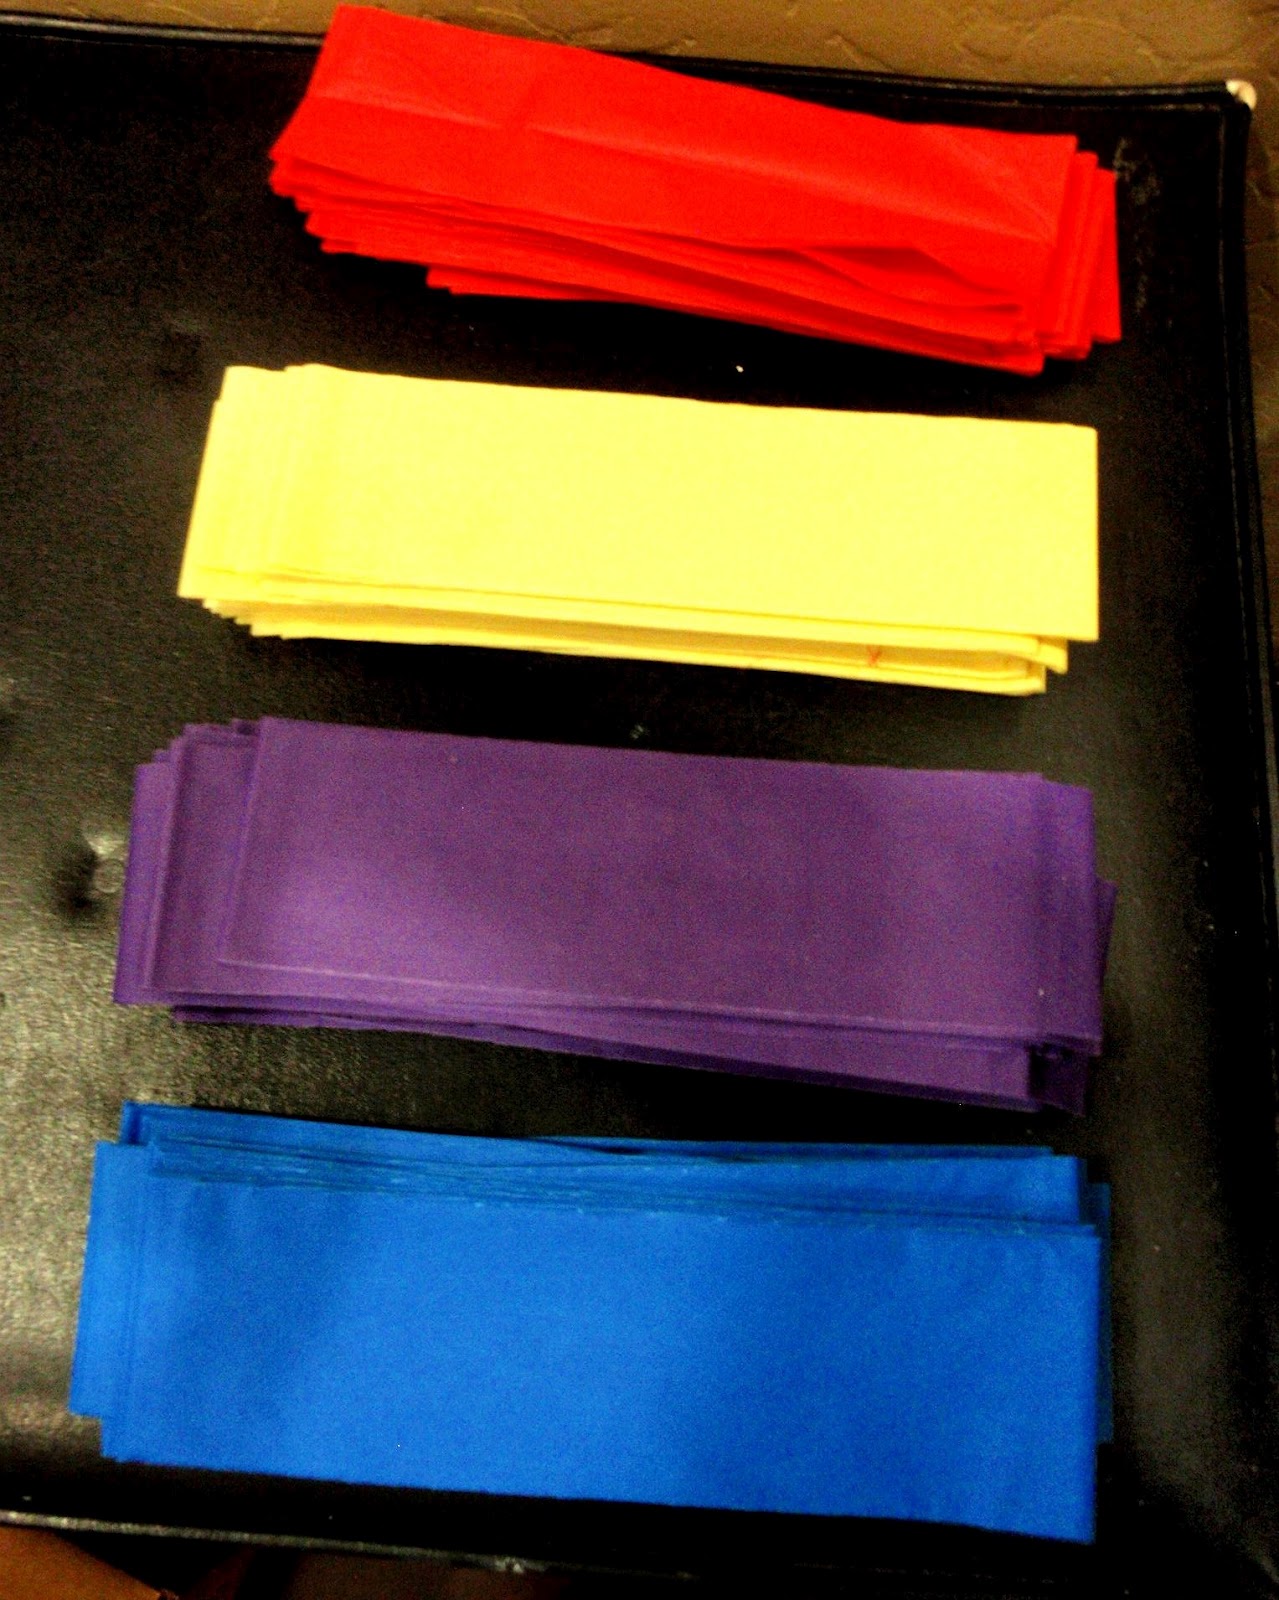
Before completely unfolding the table covers, I cut them into 2" strips using a rotary cutter and ruler.  They were knotted in rainbow order around the rings.  I tried gluing the first couple to keep them in place and then decided wasn't really necessary. 
Total price was $8 for 24 rainbow rings.


They were strung around to decorate for the party and the guests were each given a "rainbow" as a party favor.


Rainbow Party Photo Booth


The pinned up black and white background
and spray painted picture frame really set to set off bright rainbow colors.
Say "Cheese"!


The fabric is actually a tablecloth I found on clearance.
I bought the frame at Michaels in the custom framing "Oops" bin for a couple dollars.


Thursday, March 22, 2012

Magazine Page Flowers- DIY Party Decorations

The thought of dropping a bunch of cash for bridal shower decorations that would go in the trash at the end of the day didn't sit well with me.
It didn't support the "reduce, reuse, recycle" and "spend less, save more" I'm going for these days.
 I decided to look around and use what I had to make my own decorations.
A stack of Bridal magazines the Bride-to-be had left in the trunk of my car seemed like a good place to start, very "bridal".
I could save money, recycle and create something special for the Bride (Win-Win-Win).

Simple.
Going through each magazine, I tore out any pages with a neutral color scheme.
After cutting the pages into flowerish shapes, I grouped them together by size and color.
I attached them by poking a pipe cleaner through the centers.

Painted Jars

Because I'm obsessed with
jars, paint and repurposing...
this is what happened to my old (mostly pasta sauce) jars.
I made stencils for the bird and feather from contact paper.
The lavender jar is painted on the inside and wrapped in twine.

These small jars are painted on the inside.
I twirled the jars around a bit with paint and a little water inside them.
Then left them to dry upside down.
These are painted in color on the inside.
Then spray painted in black matte over contact paper stencils. 


The raised dots were made by applying puffy paint before the jar was spray painted. 


Wednesday, December 7, 2011

Thumbtack Border for Wall Chalkboard


I hung the crowns above the chalkboard wall.  I was going to put molding around the chalkboard.  When I realized the molding I liked would be over $50, I decided to buy silver thumbtacks for 75 cents and used those for a border instead.  Easier and cheaper.  I used the same tacks on the canvas painting for her room.

Tuesday, December 6, 2011

How to paint Diamonds on the Wall

I just felt like this wall was missing something.  So I painted diamonds using leftover gray paint from the lighter two walls.  I love how it turned out!  It was a little trickier to do than I had expected. 
(More after the jump...)

Tuesday, October 18, 2011

The Purple Duvet Cover

I just finished Ella's new duvet cover.  For the back I used the black and white striped flat sheet that came in her sheet set.  (I only use a fitted sheet and comforter on the kids' beds.  If all they have to do is smooth out the duvet, they are more likely to make their beds.)  For the front I cut and pieced together some fabric snatched from my mom's well stocked collection.  Thanks Mom!   An old T-shirt was cut up and used to make the ties.  I hate when the comforter slips down and gets all bunched up inside the cover, so I sewed loops to the inside edge of the comforter.  The T-shirt ties run through the loops to hold the comforter in it's place.
I found the flowers at a clearance sale for 30 cents each.  I was originally going to make some fabric flowers.  However, I don't like to make things that I can buy for less.

Here's a look at Ella's past blankets.

Her first blanket was a crib quilt made by Grandma for her nursery.
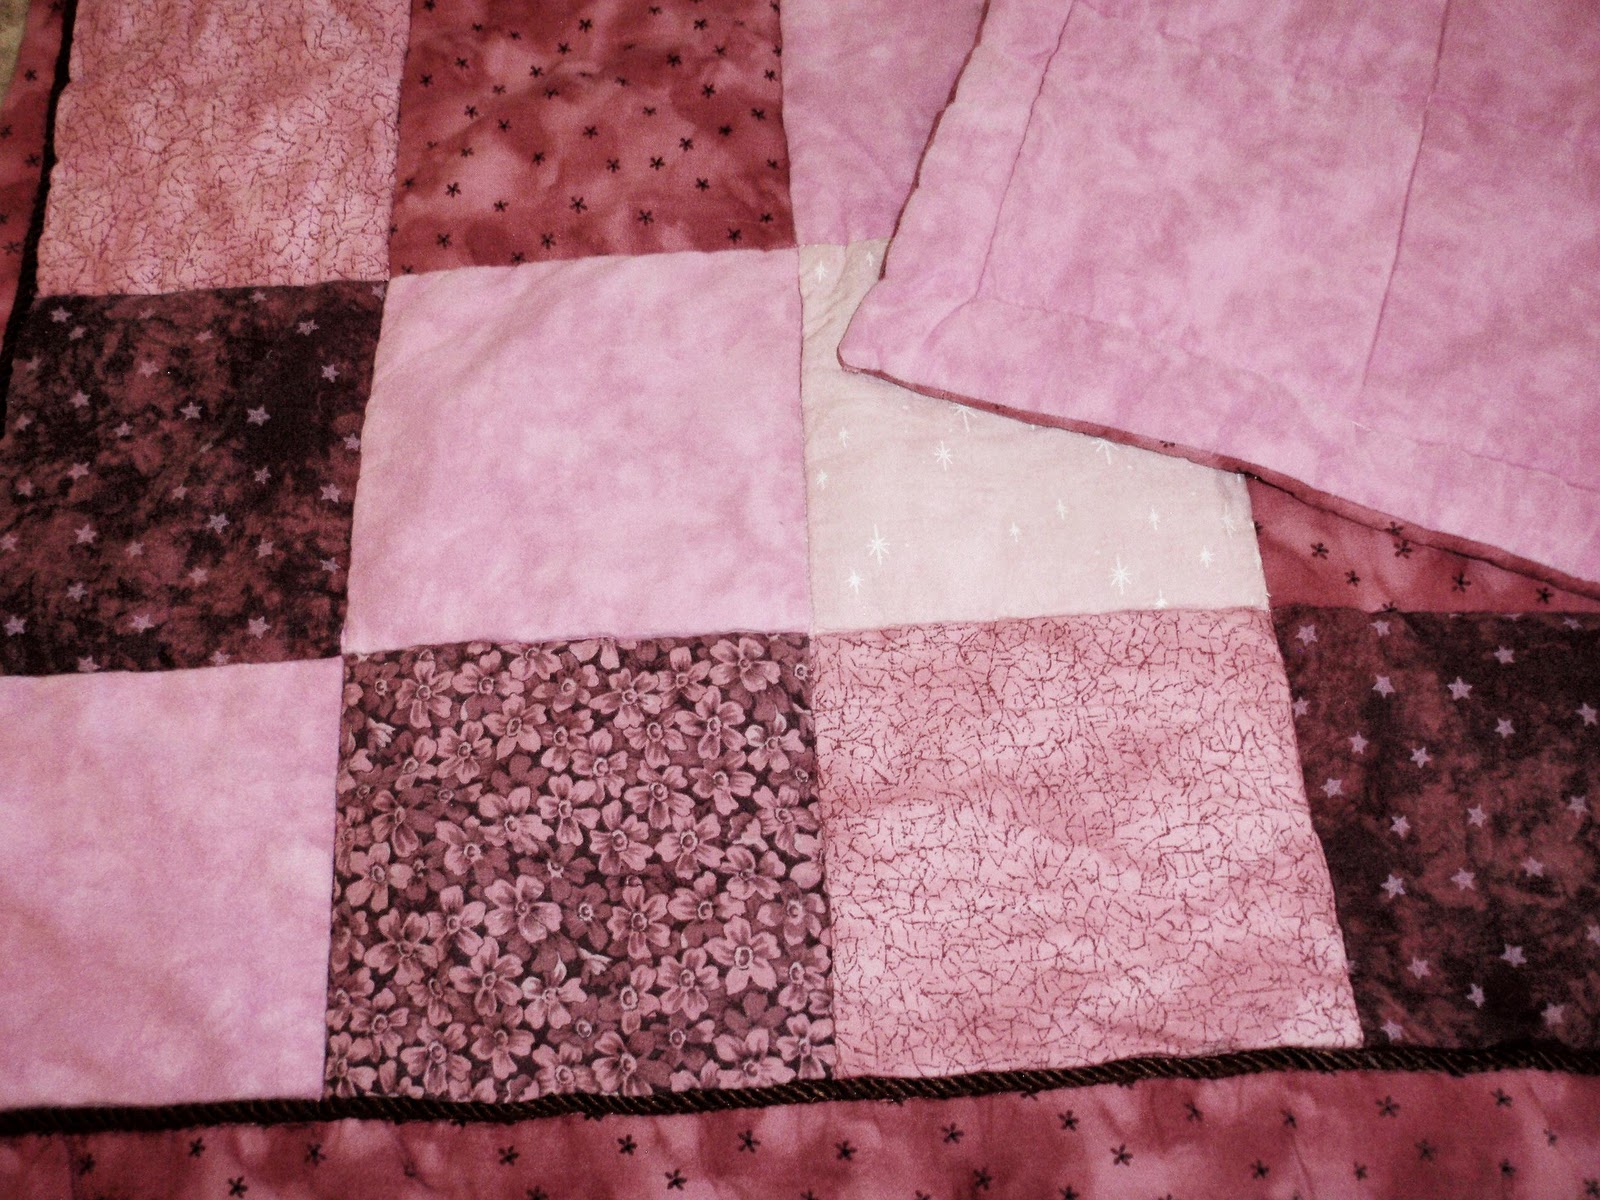
When she was graduated to a twin size bed, I made her this duvet cover with the help of Mei Ling (my talented sister-in-law).  The light pink side was actually a cotton shower curtain I found on clearance for under a dollar.  It worked perfect since the shower ring slots functioned as button holes.  The darker fabric with stars was leftover from her nursery curtains.  We made fabric covered buttons to hold it together.

Easy DIY Wall Decor

 I love browsing the scrapbook paper section.  So many colors.  So many designs.  Too bad I'm not into scrapbooking.  I only scrapbook digitally.  But since the pages are too likable to pass up, I made some into wall hangings.
(More on the next page...)